Artificial Turf Installation Process — Step by Step
A visual breakdown of how we build turf systems for long-term performance.
This page shows how our turf systems are installed from the ground up.
Each step focuses on stability, drainage, and long-term durability.
This installation process supports every system detailed in our Artificial Turf Systems.
Step 1: Site Evaluation

We evaluate soil conditions, slope, drainage paths, and sun exposure.
This step prevents layout mistakes and long-term performance issues.
Step 2: Excavation and Grade Control
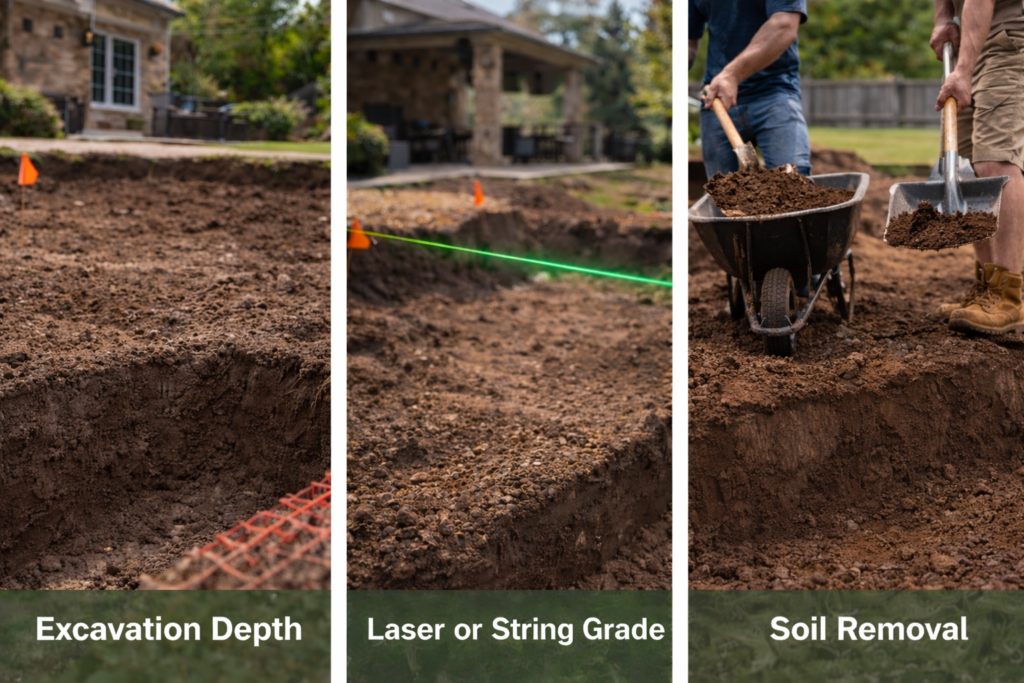
We excavate to site-specific depths based on use and soil behavior.
Proper grading prevents pooling, movement, and uneven settling.
Step 3: Engineered Base Installation
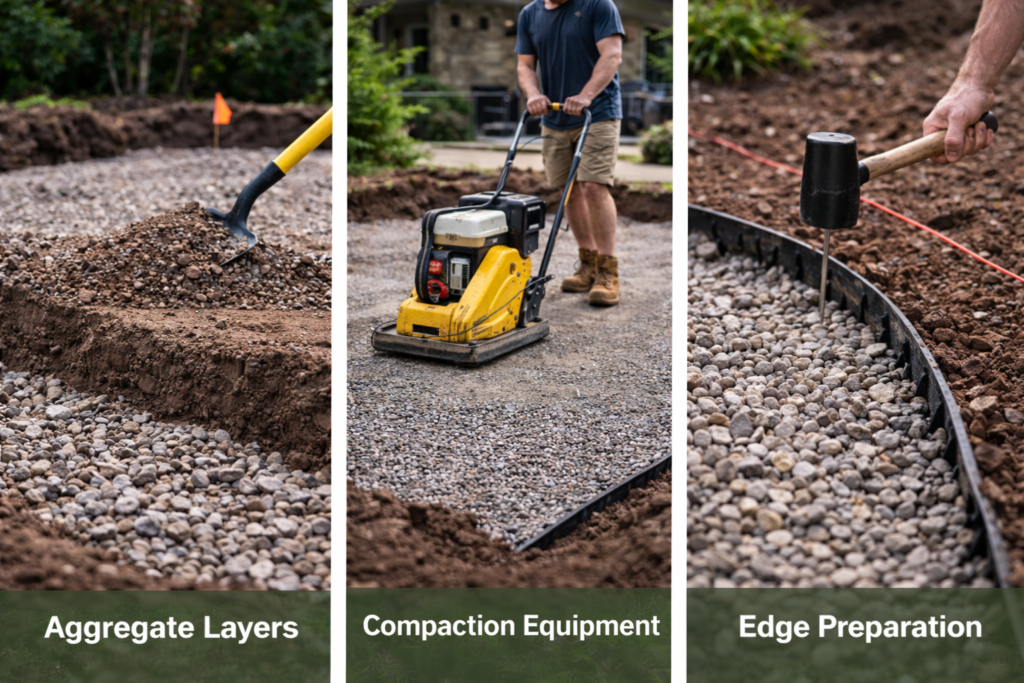
We install a multi-layer aggregate base and compact it in controlled lifts.
The base determines stability, drainage, and long-term surface performance.
Learn more about turf base preparation in North Texas HERE.
Step 4: Drainage Integration

We engineer drainage into the system based on site conditions.
This protects the base and preserves long-term turf stability.
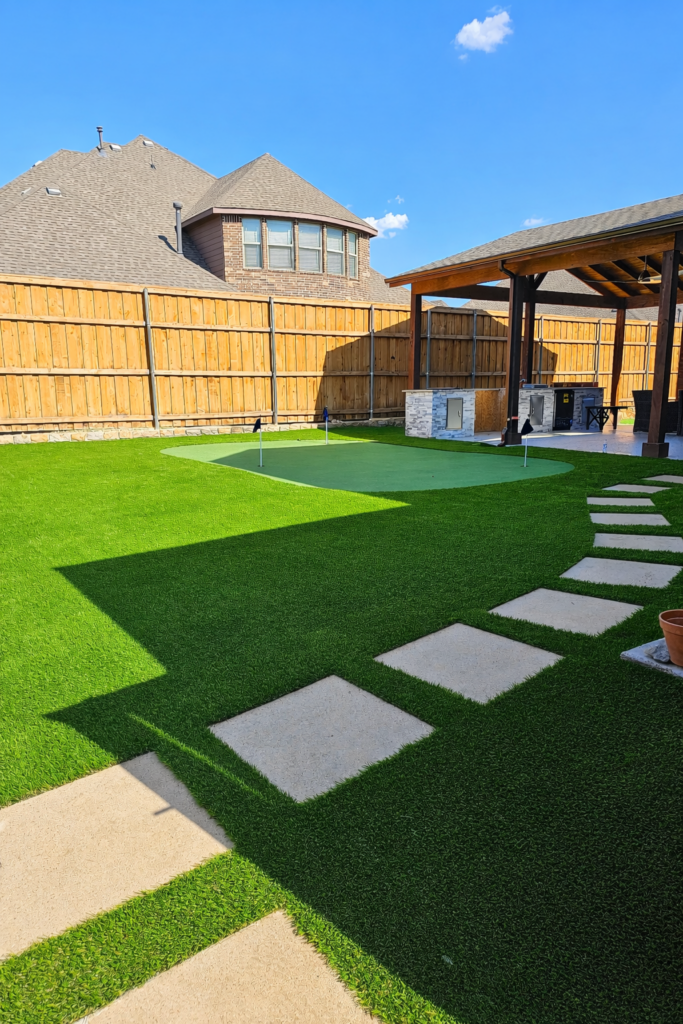
Step 5: Turf Placement and Orientation
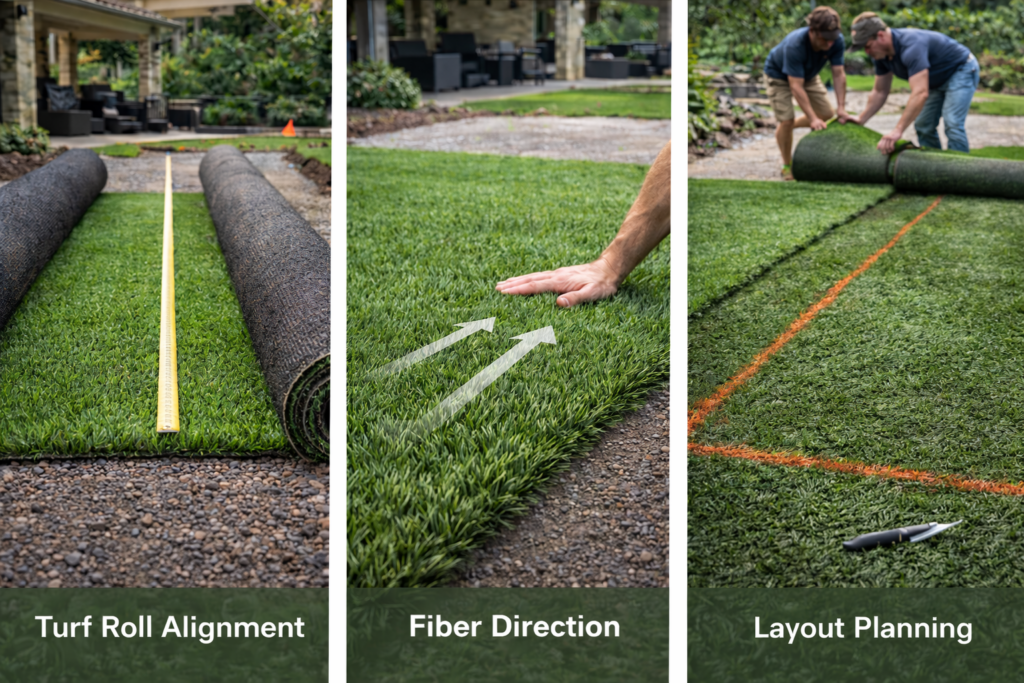
We place turf intentionally for consistent appearance and durability.
Fiber alignment and seam planning reduce stress and visibility.
Step 6: Seam Construction and Edge Restraint

We construct seams using professional joining methods and secure all edges.
This prevents separation, lifting, and long-term movement.
Click HERE to understand how proper turf installation prevents visible seams.
Step 7: Infill Application and Conditioning

We apply infill in controlled layers and brush it evenly.
Proper infill supports fibers and improves durability.
Step 8: Final Inspection

We inspect seams, edges, drainage, and surface consistency.
Every system meets performance standards before completion.
This process focuses on performance, not shortcuts.
Proper installation ensures turf systems remain stable, usable, and visually consistent over time.
This installation process applies to all turf systems we build, including lawn turf, pet turf, pool turf, commercial turf, playground turf and custom putting greens.
You can see how this process looks across real projects in our Portfolio.